Best beginner beekeeping starter kits under $150
This post contains affiliate links. As an Amazon Associate, I earn from qualifying purchases at no extra cost to you.
Starting a backyard apiary is an investment in both time and capital, but the initial barrier to entry does not have to cost a fortune. Many new hobbyists are discouraged by the high price tags of premium, fully-stocked setups that can easily exceed five hundred dollars before the first bee even arrives. However, it is entirely possible to secure a high-quality, functional foundation for your colony by focusing on the best beginner beekeeping starter kits under $150. The challenge lies in distinguishing between kits that offer genuine value and those that cut corners on essential safety or structural integrity. A well-chosen budget kit provides the necessary woodenware and basic tools to get through the first season, allowing you to scale your investment as your skills grow. Choosing the wrong kit often leads to warped wood, poorly fitting frames, or inadequate protective gear that can make your first year far more difficult than it needs to be. This guide focuses on the practical trade-offs of budget-friendly kits and how to identify the components that actually matter for colony health and beekeeper safety.
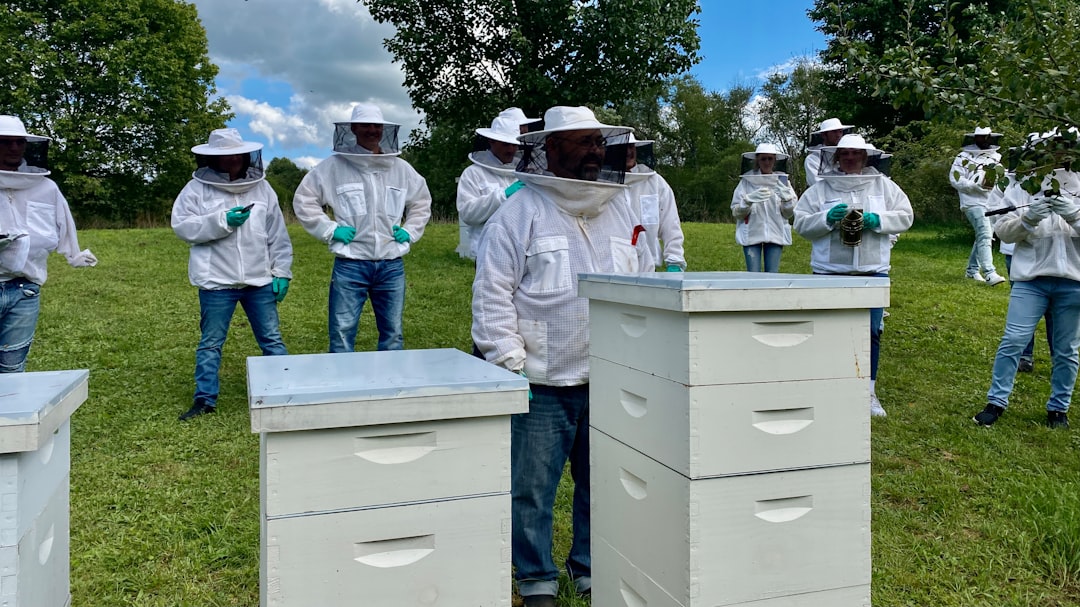
Photo by Unsplash Photographer on Unsplash
Evaluating the Best Beginner Beekeeping Starter Kits Under $150 for Value
When you are operating within a $150 budget, the primary goal is to maximize the quality of the woodenware while ensuring the kit includes the non-negotiable tools for hive management. Most kits in this price bracket focus on the Langstroth hive design, which is the industry standard for a reason. It uses standardized dimensions that allow for the exchange of frames and supers between different manufacturers. For a beginner, the Mann Lake 8-Frame Medium Super Kit, Fully Assembled 6⅝ … - Amazon represents a strong entry point because it prioritizes structural readiness over a long list of low-quality accessories. While some kits might tempt you with fifteen different small gadgets, a kit that provides a solid, pre-assembled hive body is often more valuable because it eliminates the risk of assembly errors that can lead to gaps in the hive.
The value in a starter kit is often hidden in the details of the wood grade and the wax coating. Budget kits typically use commercial-grade pine. While pine is a standard material, it is susceptible to rot if not properly protected. Some kits under $150 now include wax-dipped components, which involve submerging the wood in high-temperature paraffin or beeswax. This process forces the wax into the wood fibers, creating a much more durable moisture barrier than simple exterior paint. If a kit does not offer wax-dipping, you must account for the additional cost and time of painting the exterior surfaces before the bees are introduced.
Another factor in the value proposition is the frame count. Most kits will offer either 8-frame or 10-frame configurations. A 10-frame setup provides more room for the colony to grow and more stability against wind, but an 8-frame setup like the Little Giant Beginner Beekeeping Kit is significantly lighter when full of honey. For many hobbyists, the physical ease of lifting an 8-frame super outweighs the extra capacity of a 10-frame system. When evaluating these kits, look specifically at the frame construction. High-quality frames should have a thick top bar to prevent sagging under the weight of the honey and should be compatible with standard foundation sheets.
Essential Components Included in Beginner Beekeeping Starter Kits
A comprehensive starter kit must provide the four pillars of beekeeping: protection, smoke, manipulation, and housing. If any of these are missing or of poor quality, your ability to manage the bees safely will be compromised. The housing component usually consists of a bottom board, a deep or medium hive body, frames with foundation, an inner cover, and a telescoping outer cover. The telescoping cover is vital because it overhangs the hive body, preventing rainwater from seeping into the joints. In the sub-$150 category, kits like the BeeCastle 10-Frame Complete Hive Kit often include these components in a knocked-down or unassembled state, which is how they maintain the lower price point.
Protection is the next critical element. Most budget kits include a basic veil or a full suit. While a full suit offers the most protection, a high-quality jacket and veil combination is often more comfortable in hot summer months. The mesh of the veil must be dark to minimize glare and should be kept away from the face by a wide-brimmed hat. Gloves are also typically included, usually made of goat skin or heavy canvas. While experienced beekeepers sometimes work without gloves to maintain dexterity, beginners should always use them to build confidence and avoid unnecessary stings while learning bee behavior.
The smoker is perhaps the most important tool for hive management. It works by masking the alarm pheromones released by guard bees, which keeps the colony calm during inspections. A budget-friendly kit should include a stainless steel smoker with a heat shield and a hook for hanging it on the side of the hive. The bellows should be made of a durable material that can withstand repeated squeezing without cracking. Finally, the hive tool is a simple but essential piece of steel used to pry apart frames stuck together with propolis. A standard J-hook or crowbar-style hive tool is sufficient, provided it is made of hardened steel that will not bend under pressure.
Material Quality: Pine, Cedar, and Wax-Dipping
The longevity of your hive depends heavily on the materials used in its construction. In the under $150 price range, you will almost exclusively encounter Eastern White Pine or Chinese Fir. Pine is the traditional choice for North American beekeeping. It is relatively lightweight and easy to work with, but it has a high resin content that can lead to knots falling out over time. When reviewing the BeeCastle 10-Frame Complete Hive Kit, one should note the use of dovetail joints. These interlocking joints provide significantly more surface area for glue and mechanical stability than simple butt joints, which is crucial as the wood expands and contracts with humidity changes.
Cedar is an alternative material often praised for its natural rot resistance and aesthetic appeal. While cedar kits are generally more expensive, some smaller configurations can be found near the $150 mark. Cedar does not require painting, which can be a significant advantage for those who prefer a natural look or want to avoid the chemicals found in some paints. However, cedar is more brittle than pine, making it more prone to splitting during assembly if pilot holes are not drilled correctly. For most beginners, a well-painted or wax-dipped pine kit offers the best balance of cost and durability.
Wax-dipping has become a gold standard for budget-conscious beekeepers who want professional-grade protection. The process involves boiling the wooden components in a mixture of paraffin and microcrystalline wax at temperatures exceeding 300 degrees Fahrenheit. This not only seals the wood but also kills any pathogens that might be present in the lumber. According to research from organizations like the University of Georgia Honey Bee Program, maintaining a dry, well-ventilated environment is key to preventing fungal growth within the hive. Wax-dipped kits achieve this by preventing the wood from soaking up external moisture, which keeps the interior of the hive more stable throughout the seasons.
Safety Warning and Professional Guidance
Beekeeping involves working with live insects that can and will sting to defend their colony. Before you begin assembling your kit or ordering bees, you must ensure you have no life-threatening allergies to bee venom. It is highly recommended to consult with a medical professional if you are unsure. Furthermore, always keep a first aid kit nearby and consider having an Epinephrine auto-injector on hand if legal in your jurisdiction and recommended by your doctor.
Safety also extends to the equipment. When using a smoker, you are dealing with live embers and high heat. Always ensure your smoker is extinguished completely before storing it, as many barn fires have been started by a smoker that was thought to be out. If you are ever overwhelmed by a colony’s defensive behavior, the best course of action is to calmly close the hive and walk away. If you encounter a swarm that is in a dangerous location or a colony that has become excessively aggressive, contact a professional beekeeping association or a local removal expert. For more information on bee health and safety standards, the USDA ARS Honey Bee Lab provides extensive resources on managing colony risks.
Step-by-Step: Preparing Your Kit for the First Swarm
Once your budget kit arrives, the preparation phase begins. Even the best beginner beekeeping starter kits under $150 require some level of setup to ensure they are ready for a live colony. Follow these steps to prepare your equipment correctly:
- Inventory and Dry Fit: Before applying any glue or nails, lay out all the components of your hive. If you purchased an unassembled kit like the BeeCastle 10-Frame Complete Hive Kit, check for warped boards or missing frames. Perform a dry fit of the hive body to ensure the dovetail joints align without excessive force. If the joints are too tight, a light sanding is preferable to hammering, which can split the pine.
- Assembly and Weatherproofing: Use a high-quality exterior wood glue on all joints during assembly. Once the glue is dry, secure the joints with the provided nails or screws. If your kit is not wax-dipped, apply at least two coats of a high-quality, low-VOC exterior latex paint to all exterior surfaces. Do not paint the inside of the hive, the bees will coat the interior with propolis, which is their natural antibiotic and sealant.
- Frame and Foundation Installation: Assemble the frames carefully, ensuring they are square. A crooked frame will result in the bees building “burr comb” or “cross comb,” which makes future inspections nearly impossible without destroying the hive’s internal structure. Insert the foundation sheets into the frames. If you are using plastic foundation, ensure it is coated in a thin layer of beeswax; if it is not, you may need to melt some wax and roll it on yourself to encourage the bees to draw out the comb.
- Site Preparation: While the paint dries, prepare the location where the hive will sit. The area should be level, receive morning sun to wake the bees up early, and be protected from strong winds. Use a hive stand or even simple cinder blocks to keep the bottom board off the ground. This prevents moisture from rotting the wood and keeps pests like skunks and opossums from having easy access to the hive entrance.
Common Mistakes to Avoid When Selecting Budget Equipment
One of the most frequent mistakes beginners make is purchasing a kit that is too small for their local climate or colony type. While a single medium super kit like the Mann Lake 8-Frame Medium Super Kit, Fully Assembled 6⅝ … - Amazon is an excellent start, you must realize that a healthy colony will outgrow a single box within weeks during the spring nectar flow. Failing to have a second deep or medium box ready is a recipe for a swarm, where half your bees leave to find a new home. Always plan to have at least one additional hive body on hand beyond what comes in the basic starter kit.
Another common problem is ignoring the quality of the protective gear. Many kits under $150 include gloves made of very thin material or veils with poor visibility. If you cannot see clearly, you are more likely to drop a frame or crush bees, which agitates the colony and leads to more stings. If the veil included in your kit feels flimsy or obscures your vision, it is worth spending a few extra dollars to upgrade that specific component. Your comfort and safety directly impact how often you will be willing to perform the necessary hive inspections.
Finally, avoid the mistake of buying “untested” or “off-brand” kits from non-beekeeping specific marketplaces that do not follow Langstroth dimensions. Even a variation of an eighth of an inch can violate “bee space,” the specific gap (between 1/4 and 3/8 of an inch) that bees leave open for travel. If the gap is too small, they will seal it with propolis; if it is too large, they will fill it with bridge comb. This makes the hive a nightmare to manage. Stick to reputable brands like Mann Lake, Little Giant, or BeeCastle to ensure your equipment remains compatible with standard accessories you may buy in the future.
FAQ
Is a $150 kit enough to start beekeeping for the entire year?
A $150 kit is generally sufficient to get your colony established, but it is rarely enough for a full year of beekeeping. Most starter kits include one hive body and the basic tools. As the colony grows, you will need to add more “supers” (the boxes where bees store honey) and potentially more frames. Additionally, you will need to budget for the bees themselves, which are almost never included in a kit, as well as feed for the winter and treatments for Varroa mites. Think of the $150 kit as the entry fee that covers the most expensive durable goods, but expect to spend another $100 to $200 on bees and supplemental hardware before your first season concludes.
Should I choose an 8-frame or 10-frame starter kit?
The choice between 8-frame and 10-frame systems is primarily about weight and standardization. A 10-frame deep box full of honey and brood can weigh over 80 pounds, which is a significant physical challenge for many hobbyists. An 8-frame box like the Little Giant Beginner Beekeeping Kit reduces that weight by about 20 percent, making it much more manageable. However, 10-frame equipment is more common, making it easier to find used gear or specialized accessories like pollen traps and feeders. If you have any back concerns or physical limitations, the 8-frame system is the superior choice despite the slightly smaller volume.
Do these kits include the bees, and how do I get them?
No, beekeeping starter kits do not include live bees. Shipping live animals requires specialized handling and timing that does not align with the logistics of hardware shipping. You generally have two options for acquiring bees: a “package” or a “nuc” (nucleus colony). A package is a screened box containing three pounds of bees and a queen, while a nuc is a small, established colony on five active frames. Most beginners find more success with a nuc because the queen is already laying and the colony has a head start, but they are more expensive. You should contact a local beekeeping association in the winter or early spring to reserve your bees for a late spring delivery.
Conclusion
Selecting the right foundation for your apiary is a balance of fiscal responsibility and a commitment to quality. The best beginner beekeeping starter kits under $150 provide a clear path forward without the overwhelming cost of professional-grade setups. By focusing on essential components, understanding the nuances of wood quality, and avoiding common assembly mistakes, you can establish a healthy environment for your first colony. Remember that beekeeping is a continuous learning process. The hardware you choose today is simply the vessel for the complex biological work of the bees. Focus on gear that is durable, standardized, and safe, and you will be well-positioned for a successful first harvest.
If you found this guide helpful, consider bookmarking this page for future reference as you assemble your first hive.
Related reading
